Have the crazy idea that you want to make a stop motion video? I’ve now made 5 stop motion videos, all in Final Cut Pro X. Is it the ideal program for stop motion? Unlikely. If you have a bigger budget and more time, look into Dragonframe. For the rest of you, below is the process I went through to create a stop motion video with nothing more than a DSLR camera, Final Cut, Tripod, and cheap 47″ slider.
Steps to Making a Stop Motion Video:
The key to everything is patience. You get the chicken by hatching the egg, not by smashing it.
– Arnold H. Glasgow
1. Practice patience. Practice patience. Practice patience. Well, at least acknowledge what you’re getting into. It’s always more work than you expect. If you have the patience of a 3 year old who has been peeling back the wrapping paper on their Christmas presents a little bit each day since they were put under the tree, stop motion might not be for you.
2. Write the script.
3. Plot all of the props and scenes you’ll be using. If possible, break down the different camera angles ahead of time.
4. Choose your camera. For the video below, I used a Canon 7D.
5. If filming with a DSLR, do not use auto-iso or film on sunny/cloudy days. Inconsistent lighting will create a flickering in the final video. I filmed the kitchen scene twice. That was an extra 5 hours.
6. Set the camera on a tripod.
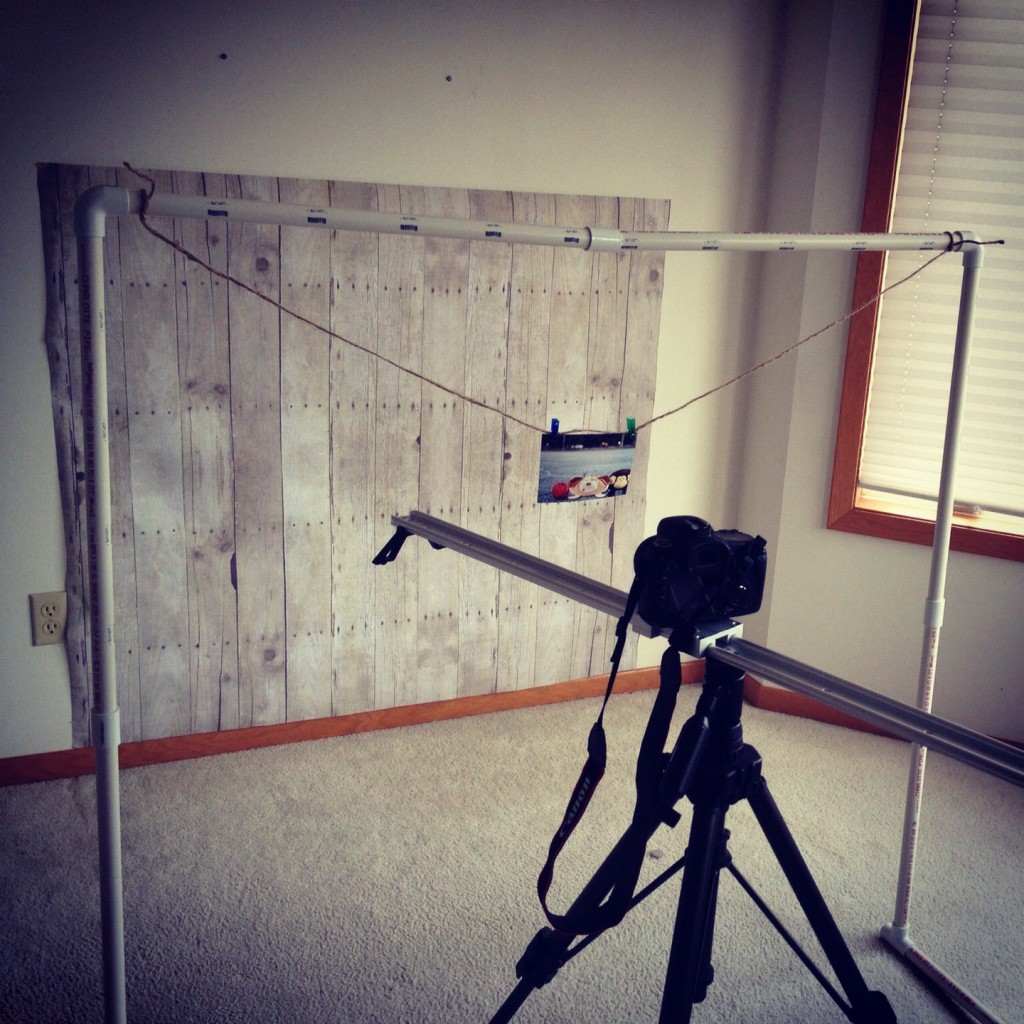
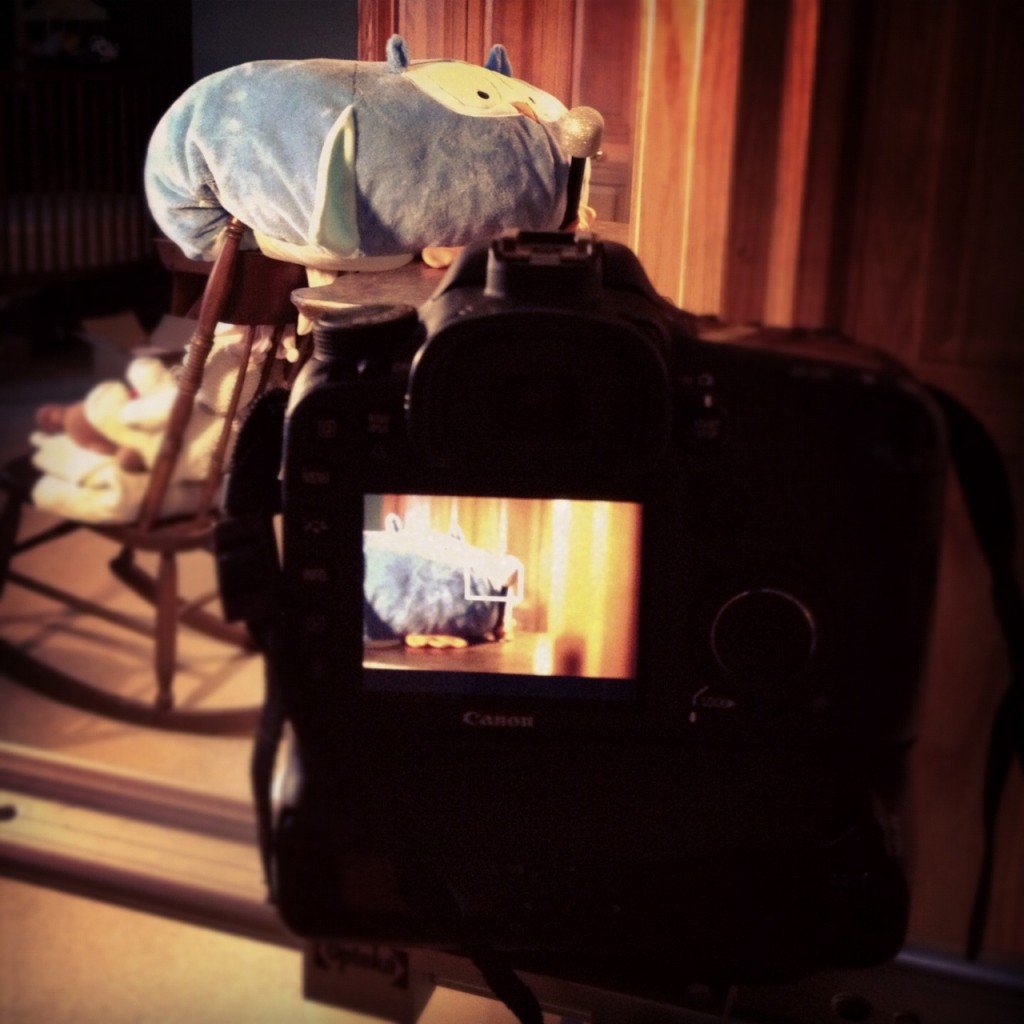
7. Make sure your camera settings will hold up for as long as it takes to film (don’t film during big light changes, like a sunrise/sunset).
8. Take a photo. Make a small change to whatever you’re filming. Take another photo.
9. Repeat step 8 about 2,000 times (or until you’re complete with the scene).
10. Once you have all the images you’ll be using, check the file size. You likely won’t need images bigger than 1 or 2mb. Working with anything larger can dramatically slow down the editing process.
11. Compress images if you need to. There are free tools that will do batch conversions for you.
12. Import images into Final Cut.
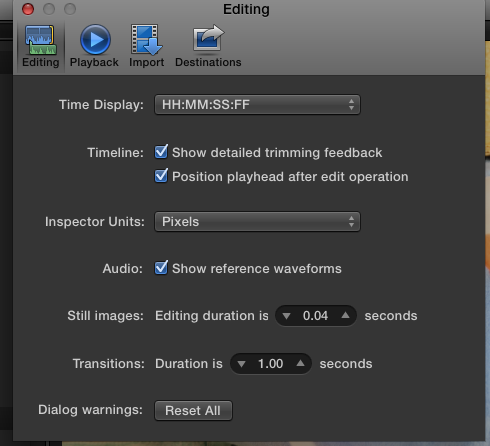
13. Go to File -> Preferences -> Editing -> Still Images. Change the editing duration to whatever will fit your film best. For this video I used .04 seconds.
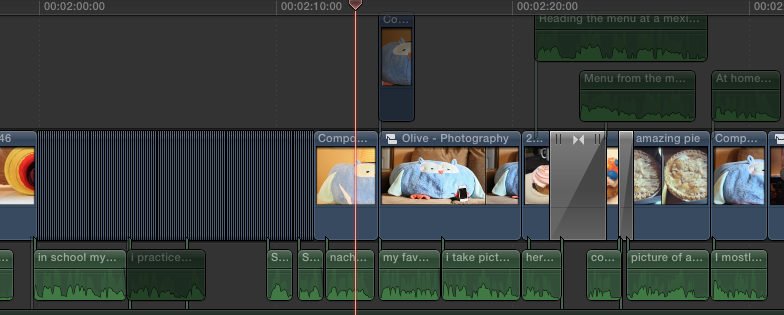
14. Start importing the images into the timeline. You can do this one by one by hitting command+w or all at once. If you do it all at once and you don’t get the time you want, you can select all of the images and retime them to show each image for either one or two frames. If your video is at 24 frames per second, you could import 24 images, highlight all of them, and then retime them to display for 1 frame each.
15. Once I have a completed version of a scene, I make a compound clip. That makes it easier to navigate between scenes as well.
Below are a few screen grabs from Final Cut:
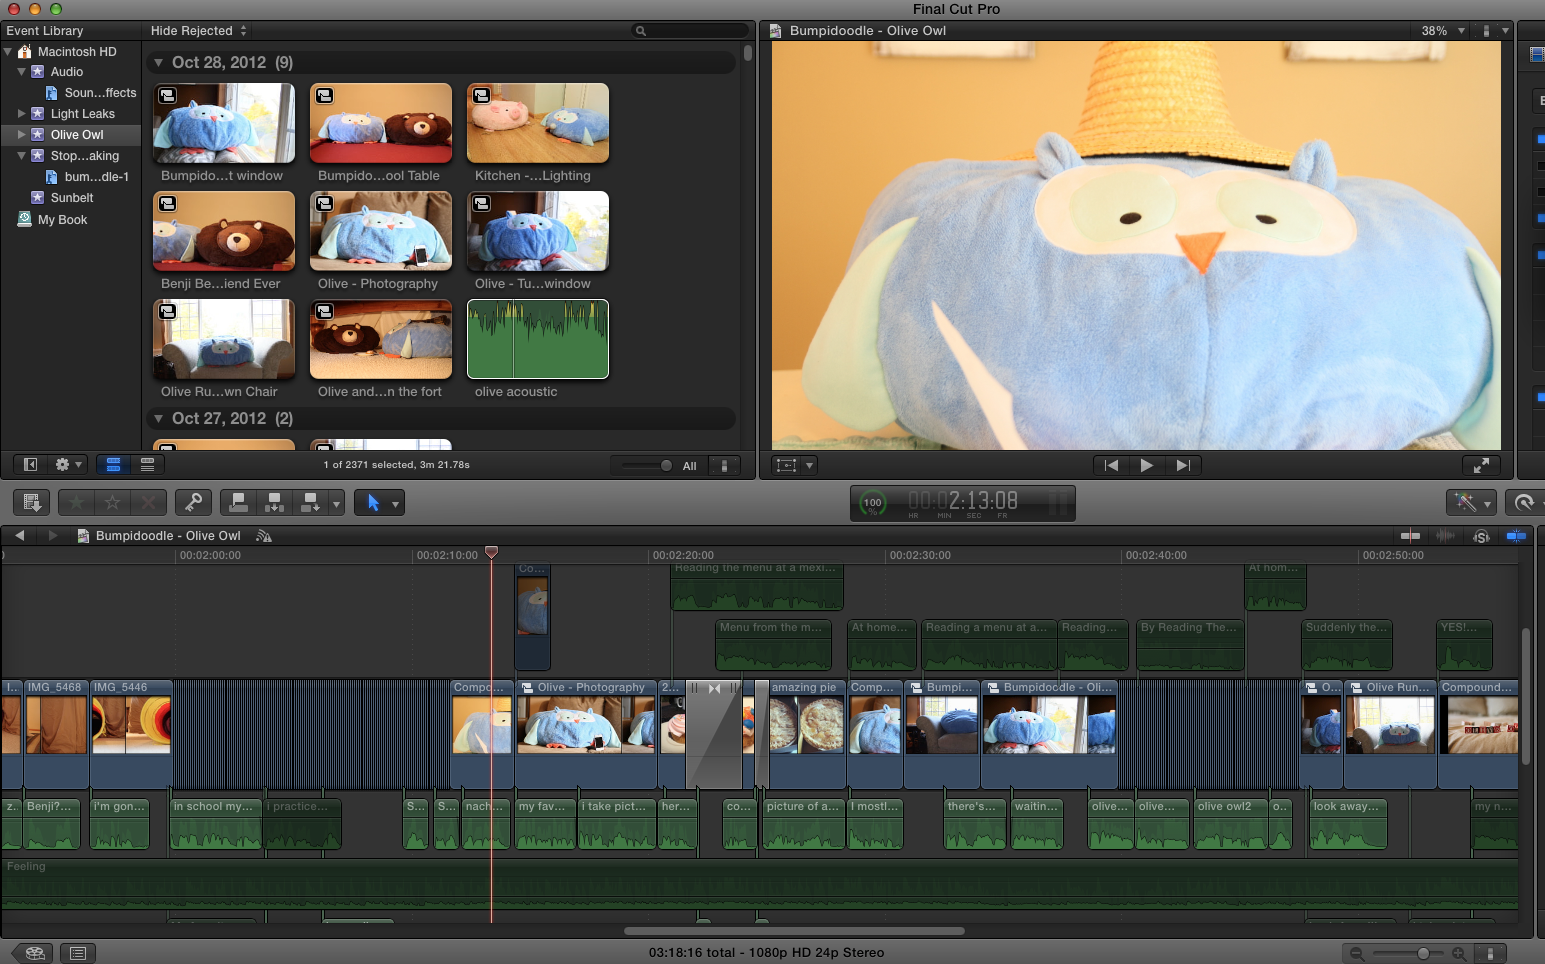
16. As you’re now just about done editing, consider if it’s worth going back to bed before work or if you should stay up all night since the video is due today and your usual alarm would be waking you up in exactly an hour.
17. Shake your fist at Final Cut for crashing a few times and setting you back on sleep.
18. Take a short nap.
19. Wake up. Get an extra espresso shot in your coffee.
20. Watch the video below. Share it with people.
Thank you so much for this post ben.